Getting It Booked In
Most of the opener calls we get from Independence start the same way: a door that still swings fine by hand, but the motor either won't take a signal or won't stop grinding halfway up. That's not a coincidence. A lot of the housing stock in this part of the service area went up around 1960, and openers from that era, or the second-generation replacements installed in the 80s and 90s, were built for a garage that didn't have a dedicated 20-amp circuit, wasn't insulated, and didn't need to talk to a smartphone. When we book an install here, the first question isn't the opener brand, it's the wiring and the headroom above the door - because on a lot of these garages, you can't just swap in whatever's on sale.
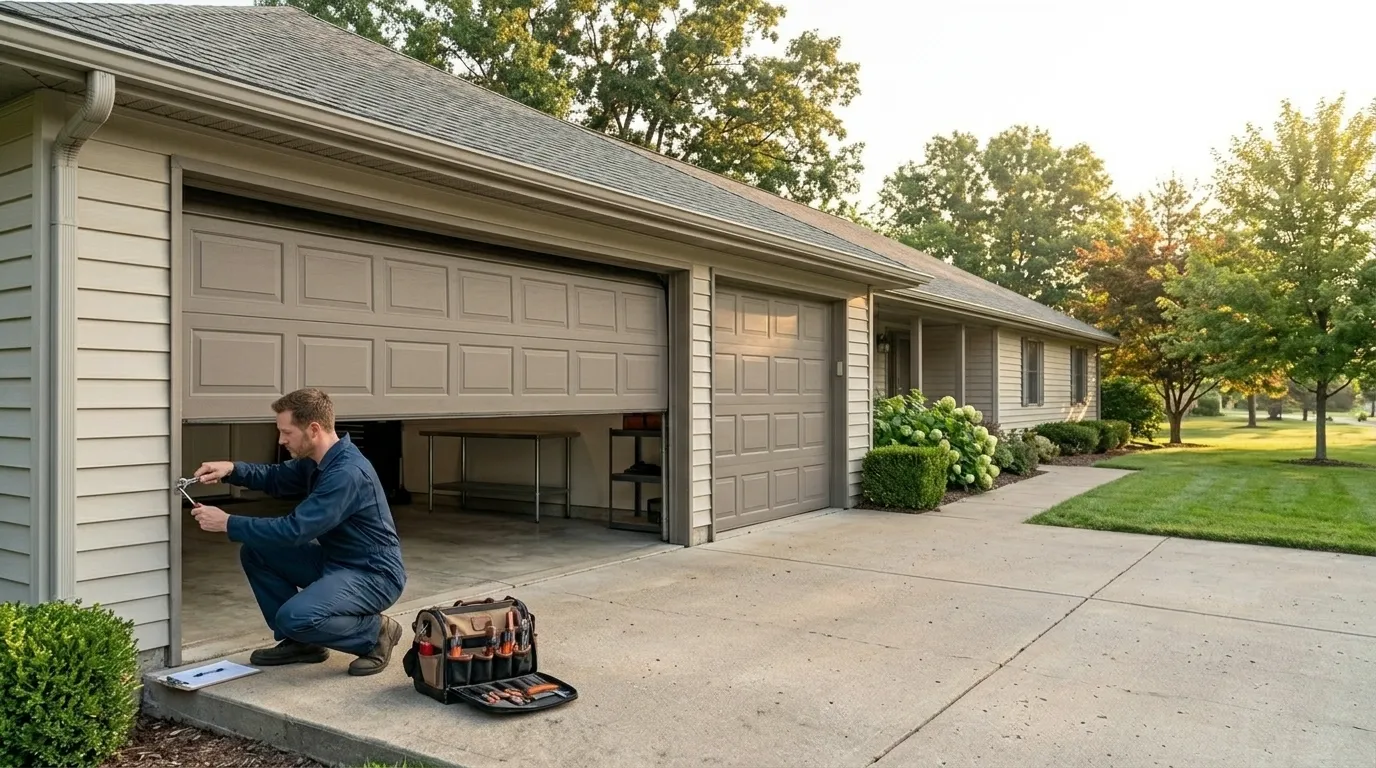
We travel from Parma, about 5 miles from Independence, so booking is scheduled around the route, not a same-day walk-in. We'll ask for the door's width, whether there's a wall outlet already in the garage ceiling area, and how much clearance you've got above the top of the door track before we quote anything, because that clearance is what decides whether a standard chain-drive fits or you need a low-headroom or jackshaft unit.
Doing It Yourself
If you're comfortable with basic electrical and a stepladder, you can get partway on your own: pulling the old opener down, checking whether the existing outlet is grounded, and measuring headroom before you buy anything. That prep alone saves us time on the job and saves you money on the call.
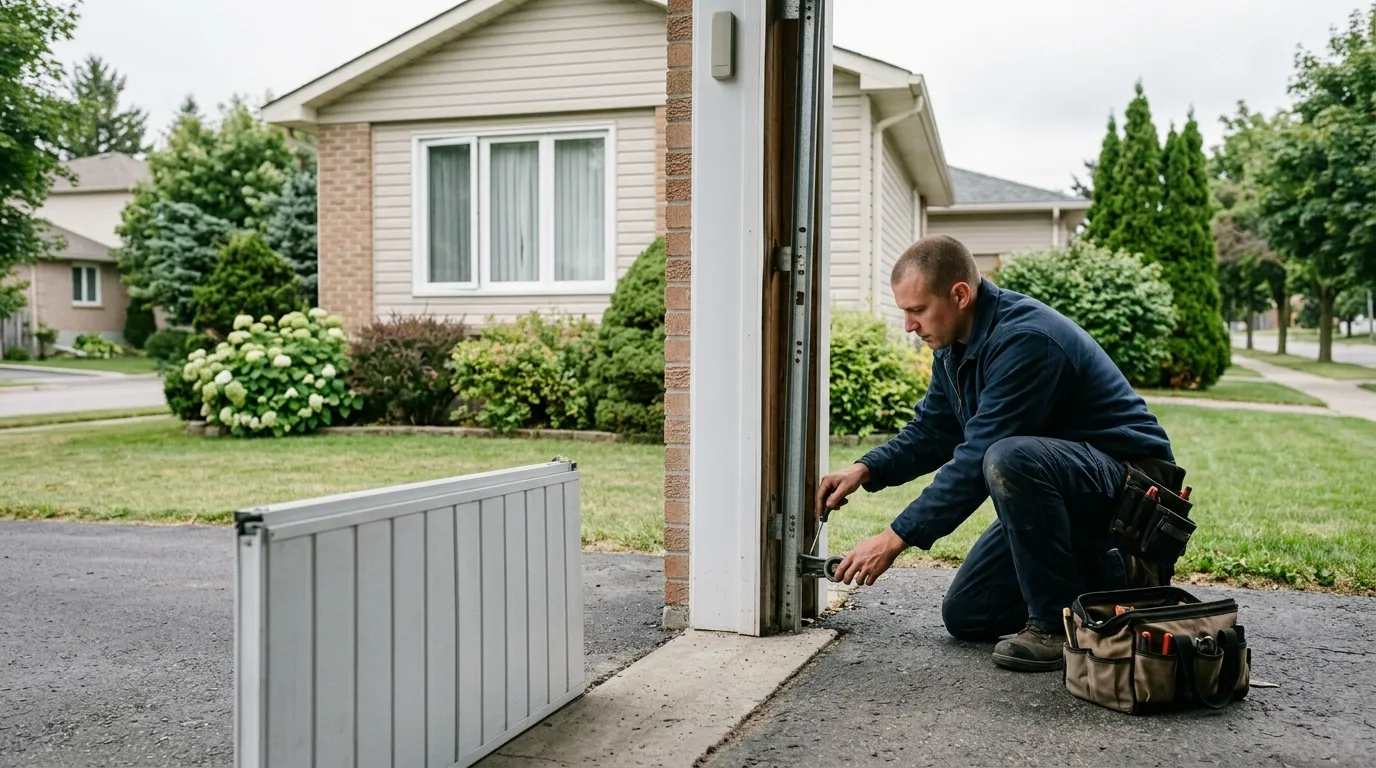
Where we'd tell you to stop is the header bracket and the travel limits. On houses from the early 1960s build era common around Independence, the wood header above the door opening was sized for a manual door or a much lighter first-generation opener, not a modern unit with a stronger motor and a heavier lift. Mounting a new opener bracket into header wood that's dried out and shrunk over sixty years without checking it first is how you end up with a bracket pulling loose under load, sometimes with the door partway up. That's not a DIY step we'd skip past for anyone, including ourselves - it needs a look before the drill comes out.
Where This Job Goes Sideways
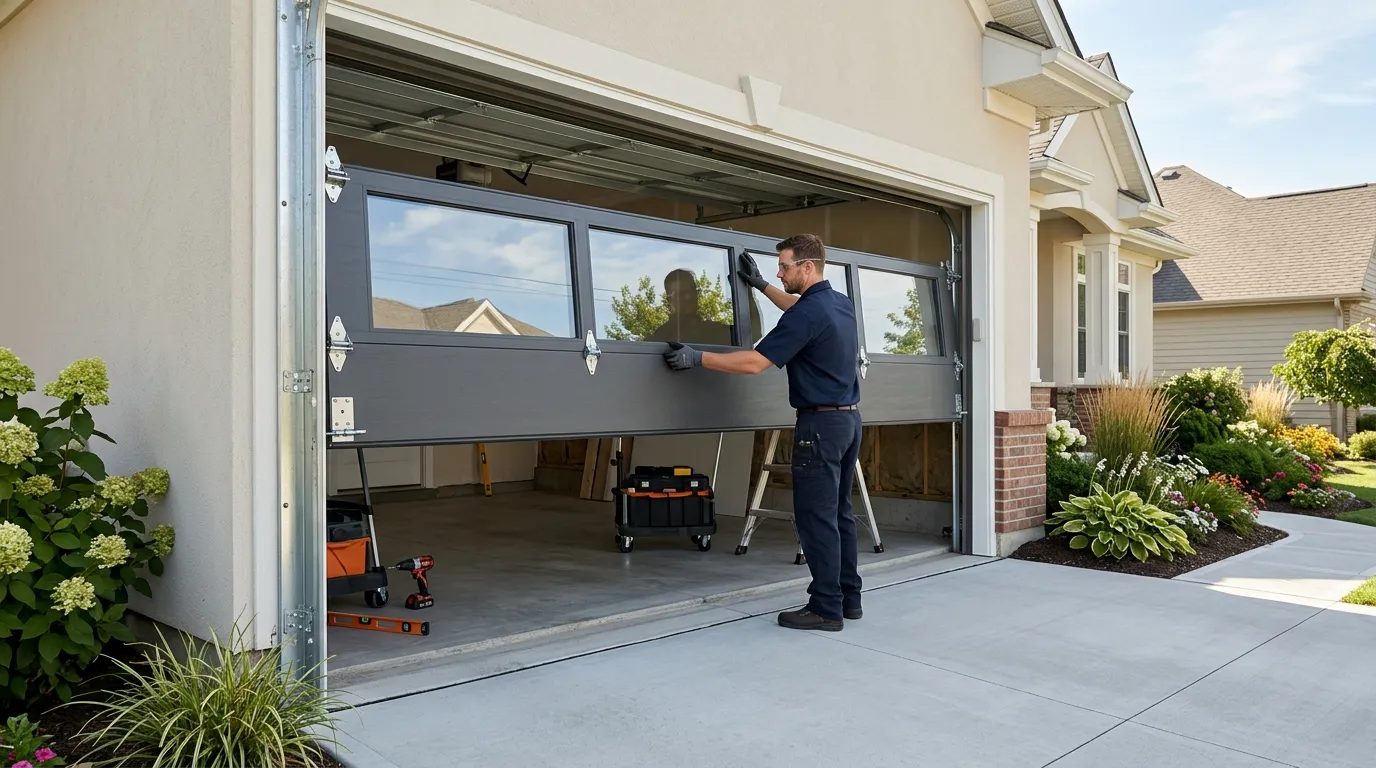
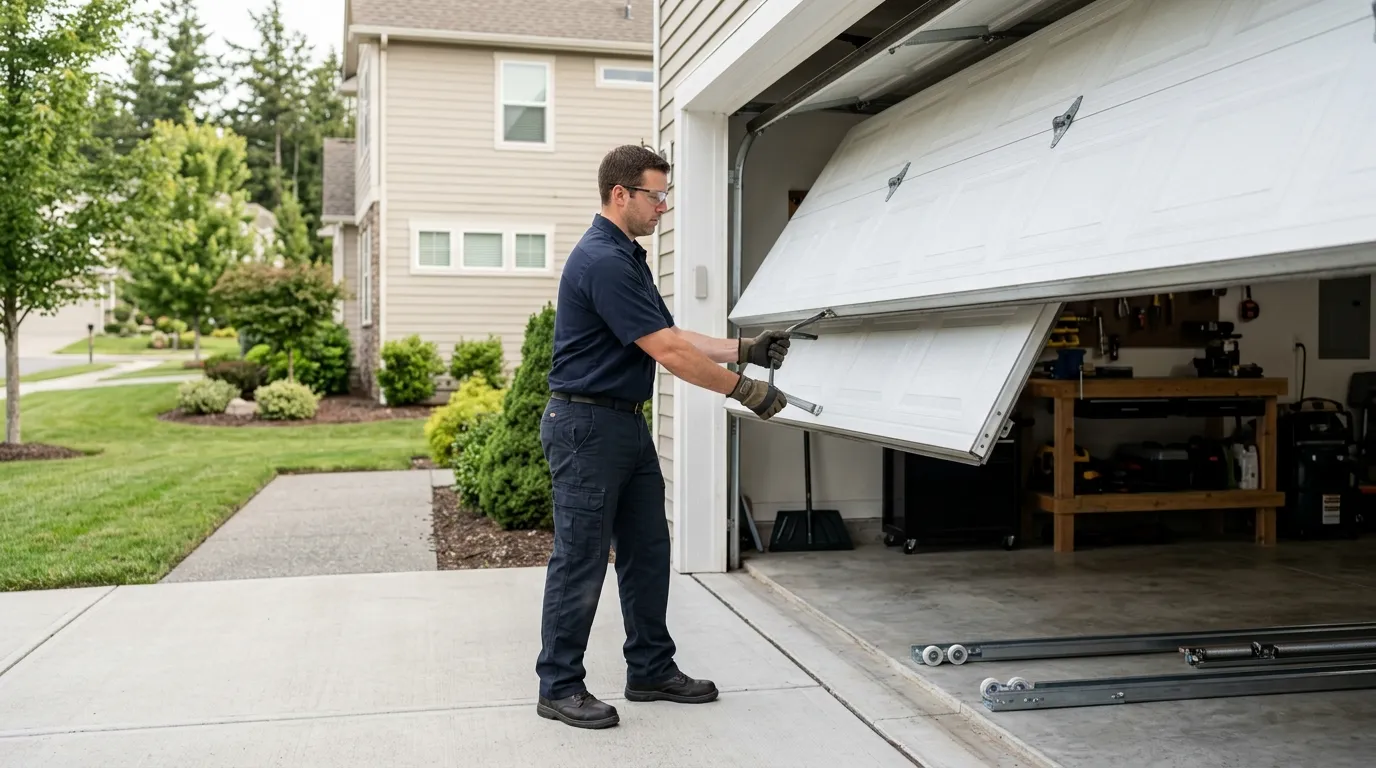
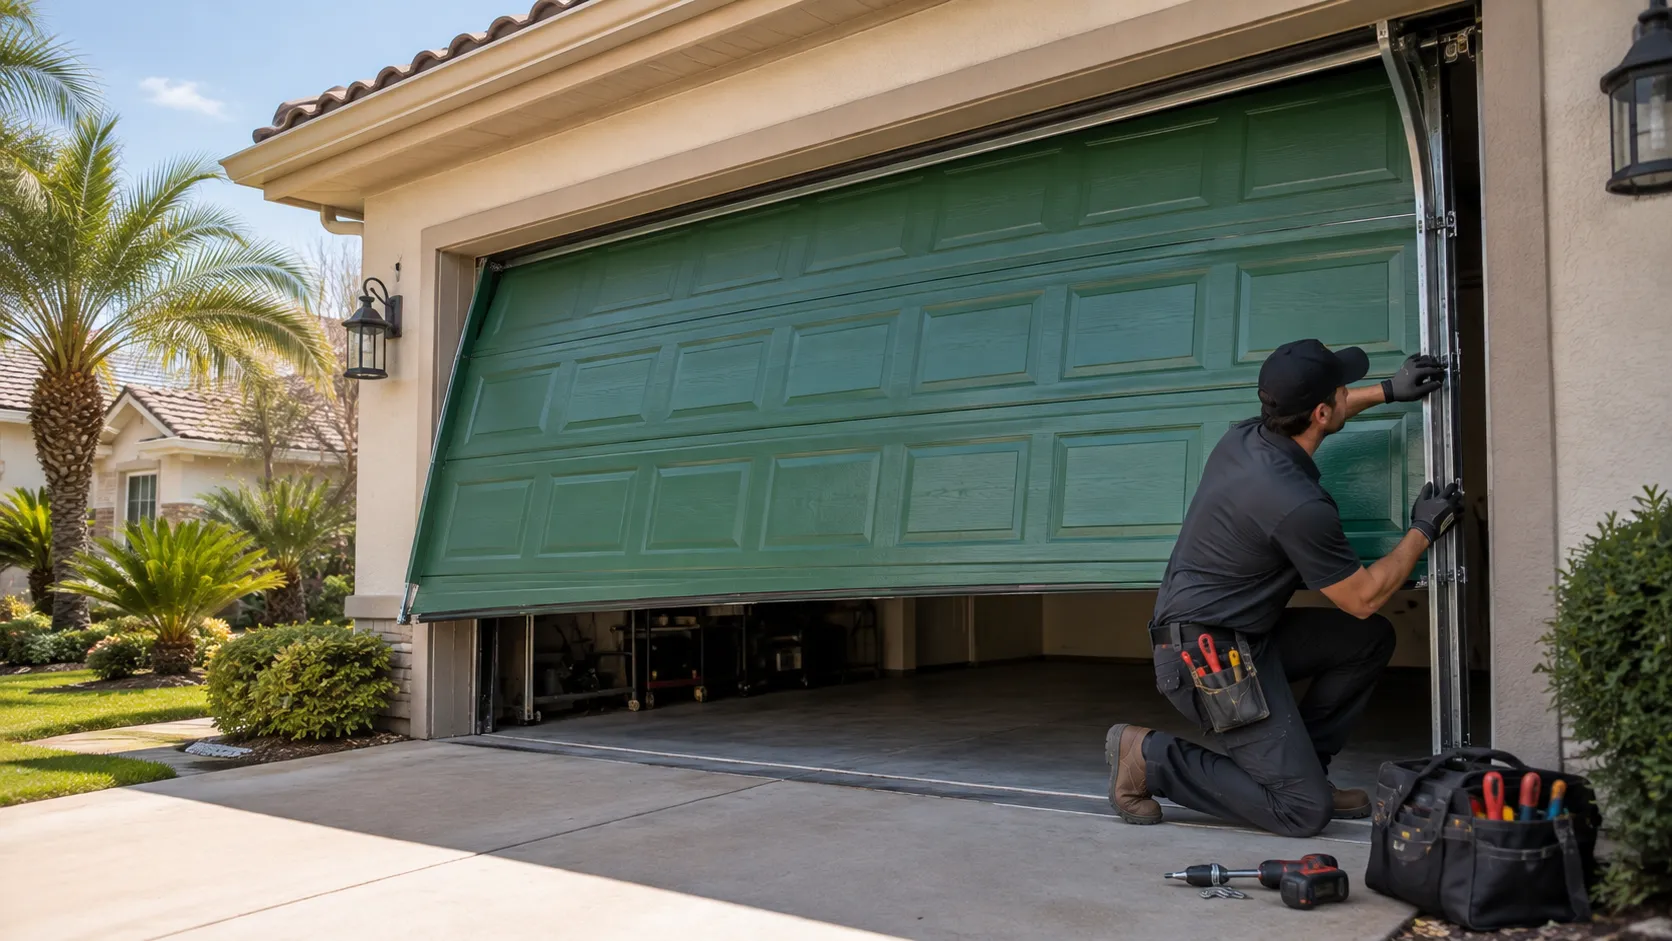
The job goes sideways when someone installs a new opener onto old hardware without checking the rest of the system first. A new motor bolted to a worn track, a bent rail, or springs that are already near the end of their life will still run - for a while - and then the whole thing fails again in a few months, with the owner blaming the new opener instead of what it was attached to.
We won't install a new unit onto a door that's clearly due for spring or track work without saying so first, even if that means a bigger invoice than the customer expected. It's a bad trade to hand someone a new opener that's fighting worn-out hardware from day one. The other place it goes wrong: skipping the header check on these older-build homes. If the mounting surface isn't solid, no opener - new or old - is staying put under real load.